Your cart is currently empty!
Calla Lilies in Pots: A Guide to Abundant Blooms

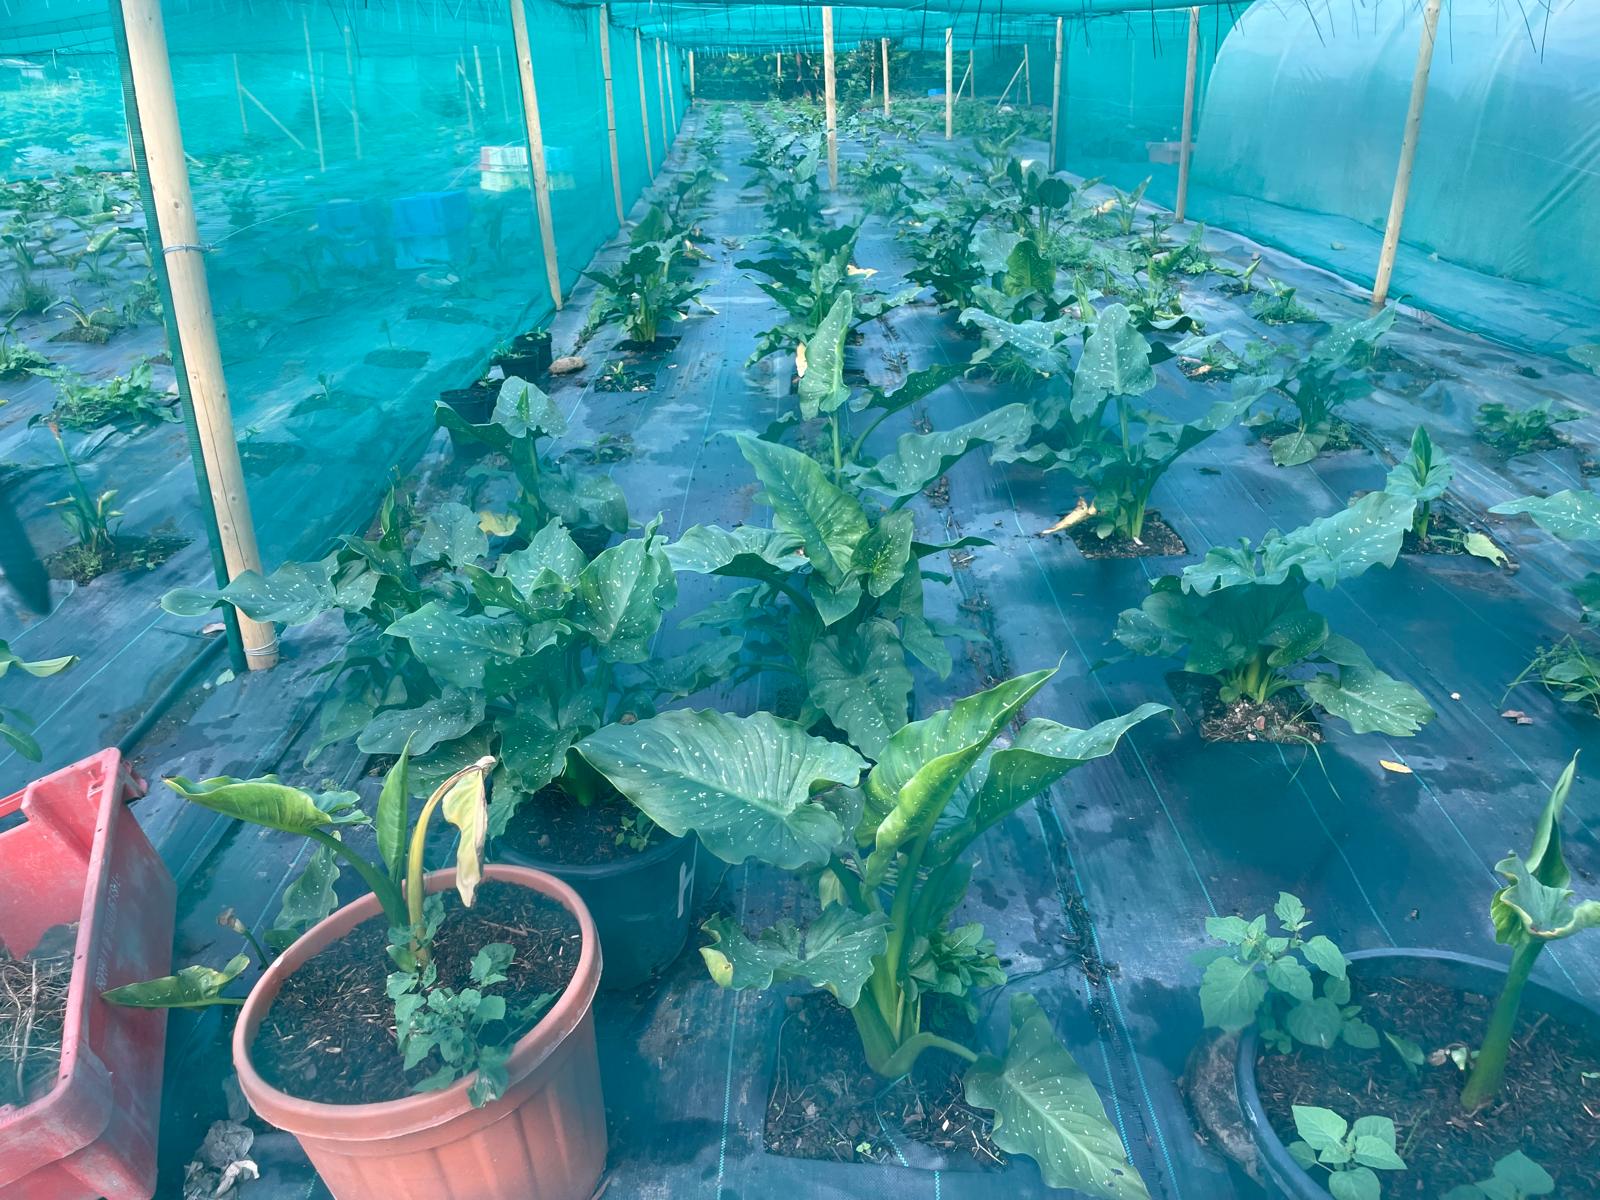
Calla lilies are beloved for their elegant, trumpet-shaped blooms that add a touch of sophistication to any garden or indoor space. Grown in pots, these versatile plants offer the convenience of easy relocation and year-round enjoyment. This comprehensive guide will delve into the essential aspects of cultivating calla lilies in pots, ensuring their optimal growth and bountiful blooms.
1. Choosing the Right Calla Lily
- Dwarf Varieties: Ideal for containers, dwarf varieties such as ‘Baby Doll’ and ‘Little Gem’ produce smaller blooms and remain compact.
- Fragrant Varieties: Seek out varieties like ‘Green Goddess’ or ‘Captain Thomas’ for their enchanting fragrance that adds an extra dimension to your potted display.
- Long-Blooming Varieties: Extend the blooming season by choosing varieties like ‘Calla Lily Apricot Glow’ and ‘Black Magic’ that boast prolonged flowering periods.
2. Container Selection and Soil Preparation
Calla lilies prefer well-drained soil with a pH between 6.0 and 7.0. Choose a pot with drainage holes to prevent waterlogging. A mix of potting soil, compost, and perlite provides the ideal growing medium. Ensure the pot is large enough to accommodate the plant’s root system, allowing for proper growth and development.
3. Planting and Care
- Planting: Plant the calla lily bulbs shallowly, 1-2 inches deep and 4-6 inches apart. Position the bulb with the pointy end facing up.
- Watering: Water regularly, especially during active growth and blooming. Allow the top inch of soil to dry out between waterings to prevent overwatering.
- Fertilizing: Feed calla lilies every 2-3 weeks with a balanced liquid fertilizer diluted to half strength. Avoid over-fertilizing.
- Temperature: Calla lilies thrive in warm, humid conditions. Protect them from extreme temperatures, such as frost or intense heat.
- Light: Provide 6-8 hours of bright, indirect sunlight per day. Avoid direct sunlight, which can scorch the leaves.
4. Common Problems and Solutions
| Problem | Solution |
|---|---|
| Yellowing leaves | Nutrient deficiency. Increase fertilizer frequency or check soil pH. |
| Stunted growth | Insufficient sunlight or nutrients. Provide more light and fertilize regularly. |
| Fungal diseases | Waterlogged soil or poor drainage. Improve drainage and avoid overwatering. Use fungicide if necessary. |
| Aphids or spider mites | Pests that can cause leaf damage. Treat with insecticidal soap or neem oil. |
5. Overwintering and Propagation
Calla lilies are not cold-hardy, so they need to be overwintered in frost-free areas. In temperate climates, you can dig up the bulbs and store them in a cool, dry place during the winter months. In warmer climates, you can leave the lilies in their pots and move them to a protected area.
Calla lilies can be propagated by division or seed. Division is the most common method, where you divide the clumps of bulbs in the fall or spring. Seeds can be sown indoors in the spring and transplanted outdoors once the seedlings are established.
6. Additional Tips
- Deadhead spent blooms: Remove wilted flowers to encourage new growth and prevent seed production.
- Cut back foliage in fall: Cut back the foliage after the blooms have finished to prepare the plant for dormancy.
- Regular grooming: Remove any discolored or damaged leaves to promote plant health.
- Companion planting: Plant calla lilies with other shade-loving plants such as ferns, hostas, or begonias to create a harmonious container display.
Conclusion
Growing calla lilies in pots is a rewarding endeavor that brings elegance and beauty to any space. By following the guidelines outlined in this comprehensive guide, you can cultivate vibrant and long-lasting blooms that will illuminate your indoor or outdoor area. Embrace the beauty of calla lilies in pots, creating a captivating display that will delight the senses and add a touch of sophistication to your surroundings.
Looking for services in Ferns? You may also like: Flower Delivery 24 | Log Cabins Ireland.
Our Shop
-
Crowborough — Zantedeschia aethiopica ‘Crowborough’
-
Green Goddess — Zantedeschia ‘Green Goddess’
-
Hercules — Zantedeschia aethiopica ‘Hercules’
-
Highveld — Zantedeschia ‘Highveld’
-
Odorata — Zantedeschia odorata
-
Pink Flamingo — Zantedeschia ‘Pink Flamingo’
-
Pink Mist — Zantedeschia ‘Pink Mist’
-
White Giant — Zantedeschia aethiopica ‘White Giant’


Leave a Reply