Your cart is currently empty!
Calla Bulbs Planting: A Comprehensive Guide to Growing Beautiful Callas

Introduction
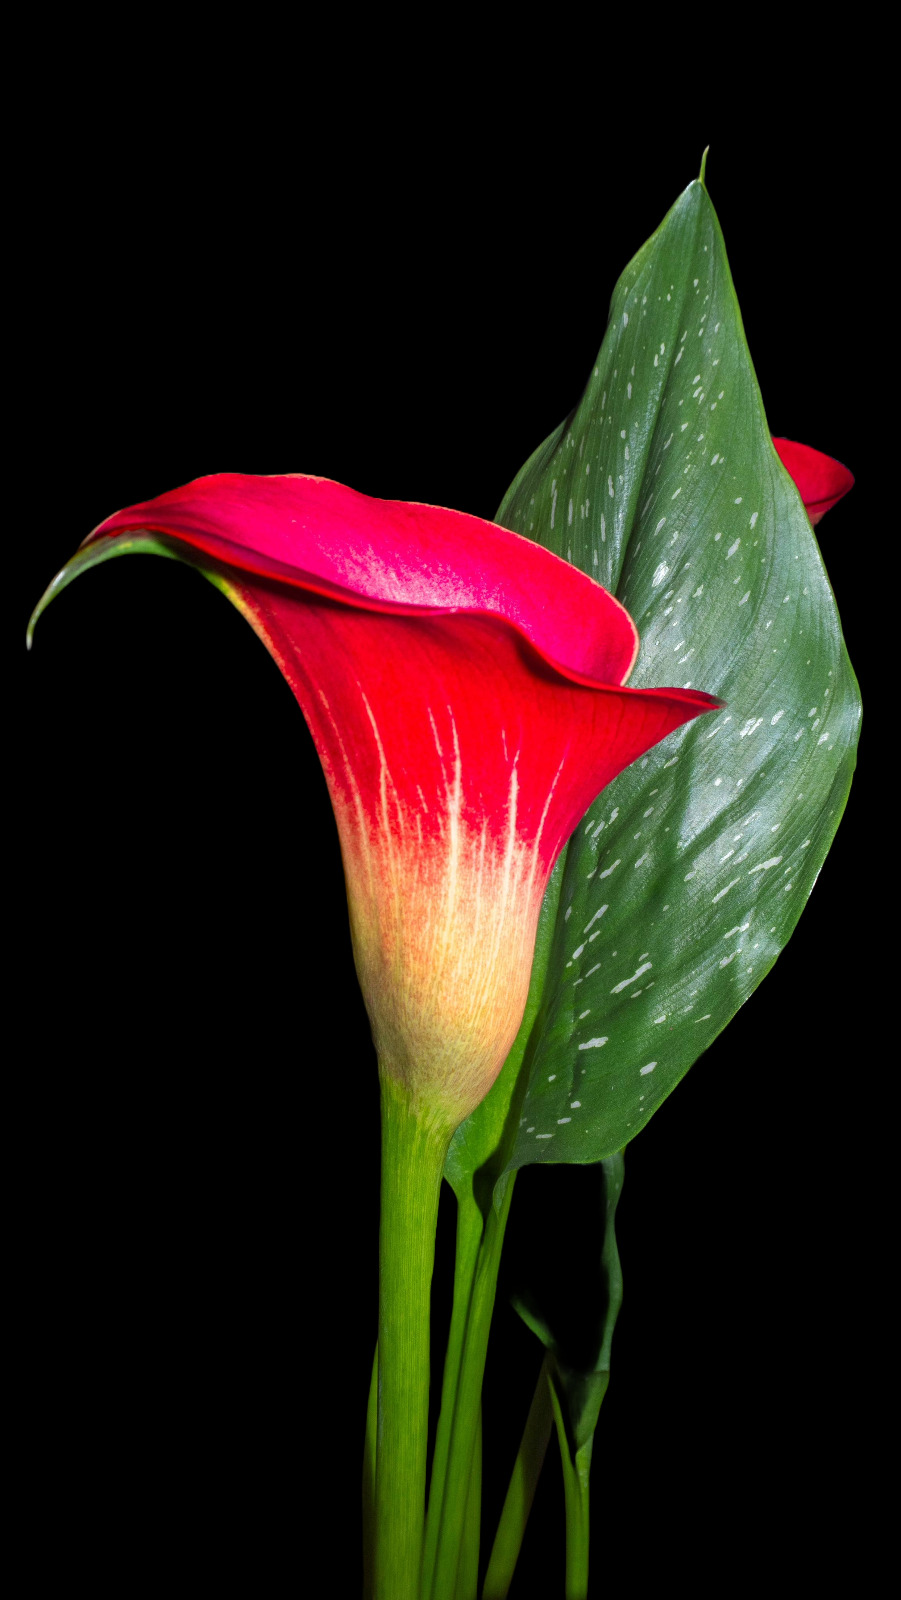
Callas, also known as arum lilies, are a stunning group of flowering plants renowned for their elegant trumpet-shaped blooms and lush foliage. Their captivating beauty makes them a popular choice for gardens, patios, and floral arrangements.
Growing callas from bulbs is a rewarding experience that can add a touch of sophistication to any outdoor space. This comprehensive guide will provide you with all the essential information you need to successfully plant and cultivate these captivating flowers.
Choosing the Right Calla Bulbs
Size and Quality
When selecting calla bulbs, opt for large, firm bulbs that are free from bruises or blemishes. Choose bulbs that are at least 2 inches in diameter for optimal blooming potential.
Varieties
There are numerous varieties of calla bulbs available, each offering unique characteristics. Consider the following:
- White Callas: Classic and elegant, perfect for formal gardens or wedding bouquets.
- Yellow Callas: A cheerful and vibrant choice, ideal for adding a pop of color.
- Pink Callas: A versatile choice that ranges from soft pastels to vibrant hues.
- Black Callas: A dramatic and exotic variety that creates a striking contrast in the garden.
Preparing the Planting Site
Soil and Drainage
Callas prefer moist, well-drained soil with a pH between 6.0 and 6.5. If your soil is heavy or has poor drainage, consider amending it with organic matter such as compost or peat moss.
Sunlight
Callas thrive in partial shade, receiving 4-6 hours of sunlight per day. Avoid planting in full sun, as it can scorch the foliage.
Spacing
Plant calla bulbs 6-8 inches apart and 4-6 inches deep. Space the rows approximately 12-18 inches apart to allow for air circulation and growth.
Planting the Calla Bulbs
Timing
In warmer climates, plant calla bulbs in the fall or early winter. In colder climates, plant them in the spring after the last frost.
Planting Method
- Dig a hole twice the depth of the bulb.
- Place the bulb in the hole with the pointed end facing up.
- Backfill the hole with soil and gently firm it down.
- Water the newly planted bulb thoroughly.
Care and Maintenance
Watering
Water callas regularly, especially during hot and dry weather. Keep the soil consistently moist but avoid overwatering, as soggy soil can lead to rot.
Fertilizing
Fertilize callas every 4-6 weeks with a balanced liquid fertilizer. Use a fertilizer that is high in phosphorus to promote blooming.
Mulching
Spread a layer of mulch around the callas to help retain moisture, suppress weeds, and regulate soil temperature.
Pest and Disease Control
Callas are generally trouble-free, but they can be susceptible to aphids and spider mites. Control pests by using insecticidal soap or neem oil.
Troubleshooting
Lack of Blooms
- Insufficient sunlight.
- Bulbs planted too deep.
- Overcrowding.
Yellowing Leaves
- Overwatering.
- Nutrient deficiency.
- Root rot.
Conclusion
Planting and growing calla bulbs is a rewarding endeavor that can bring a touch of elegance and beauty to your garden. By following the tips outlined in this guide, you can ensure the successful cultivation of these stunning flowers. Enjoy the vibrant blooms of callas throughout the season and create a captivating outdoor space that you’ll cherish for years to come.
Frequently Asked Questions
Q: Can I plant calla bulbs in pots?
A: Yes, calla bulbs can be grown in pots. Choose a pot that is at least 8 inches deep and wide. Ensure that the pot has drainage holes to prevent waterlogging.
Q: How long does it take for calla bulbs to bloom?
A: Calla bulbs typically bloom 6-8 weeks after planting, depending on the variety and growing conditions.
Q: Should I divide calla bulbs?
A: Calla bulbs can be divided every 3-4 years to encourage vigor and prevent overcrowding. Dig up the bulbs in the fall, separate the offsets, and replant them in new soil.


Leave a Reply