Your cart is currently empty!
How to Grow Arum and Calla Lilies from Seed: A Comprehensive Guide

Introduction
Growing Arum lilies (Zantedeschia aethiopica) and Calla lilies (Zantedeschia spp.) from seeds can be a rewarding yet challenging endeavor. While these plants are commonly propagated from bulbs, starting them from seeds offers a unique experience and the satisfaction of nurturing them from the very beginning. This comprehensive guide will walk you through the entire process of growing Arum and Calla lilies from seeds, incorporating best practices and expert advice.
Understanding the Seed Collection and Preparation
Collecting Seeds
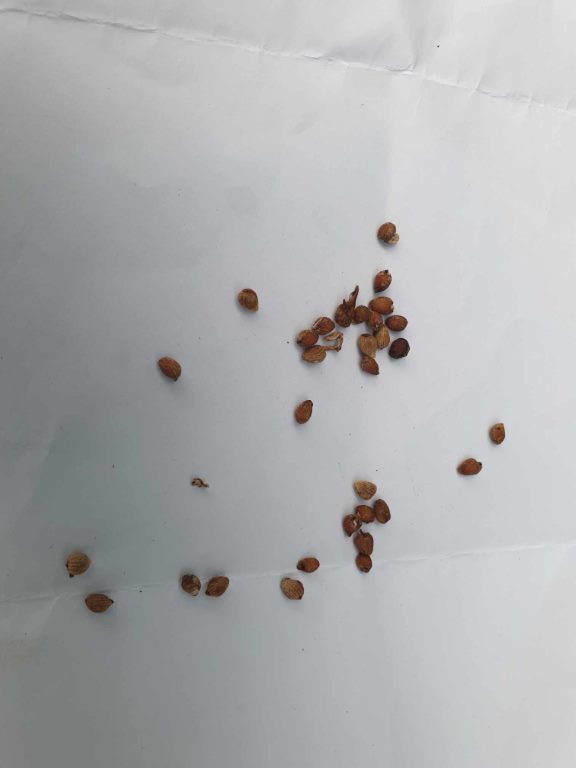
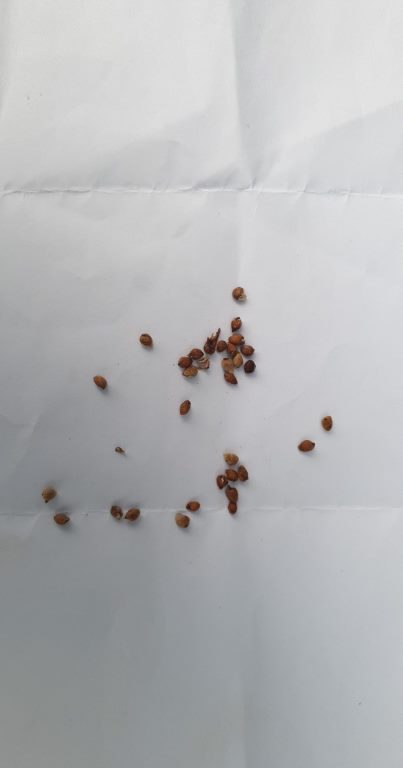
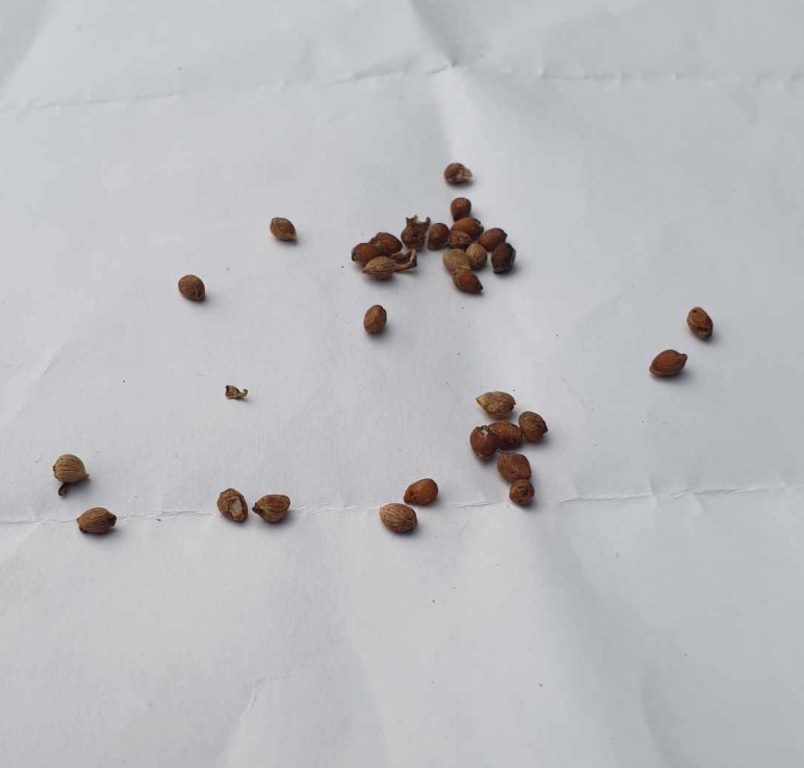
- Seed Pods: After the blooming period, Calla and Arum lilies produce seed pods. Allow these pods to mature and dry on the plant before harvesting.
- Harvesting: Once the pods are dry, carefully remove them and extract the seeds. Clean the seeds thoroughly to remove any pulp, which can inhibit germination.
Preparing Seeds for Planting
- Soaking Seeds: Soak the seeds in warm water for 24 hours to soften the seed coat and improve germination rates.
- Stratification: Some gardeners recommend stratifying the seeds by placing them in a damp paper towel inside a plastic bag and refrigerating them for several weeks. This mimics natural winter conditions and can enhance germination.
Planting Arum and Calla Lily Seeds
Soil and Containers
- Soil Mix: Use a well-draining seed-starting mix. A mixture of peat moss, perlite, and vermiculite works well.
- Containers: Seed trays or small pots are ideal for starting lily seeds. Ensure they have drainage holes to prevent waterlogging.
Sowing Seeds
- Planting Depth: Sow the seeds about 1-2 cm deep. Cover lightly with soil and press gently.
- Spacing: Space the seeds about 5 cm apart to allow room for growth and reduce competition.
Germination and Seedling Care
Optimal Conditions for Germination
- Light: Place the seed trays in a location with bright, indirect light. If growing indoors, a south-facing window or grow lights can provide the necessary illumination.
- Temperature: Maintain a consistent temperature of 21-24°C (70-75°F) for optimal germination.
- Moisture: Keep the soil consistently moist but not waterlogged. Use a spray bottle to mist the soil surface if needed.
Germination Timeline
- Timeframe: Germination can take anywhere from 1 to 3 months, depending on the conditions and seed viability. Be patient, as some seeds may take longer to sprout.
Transplanting Seedlings
Preparing for Transplant
- Hardening Off: Before transplanting outdoors, harden off the seedlings by gradually exposing them to outdoor conditions over a week. This helps them acclimate to changes in temperature, light, and wind.
- Soil Preparation: Prepare the garden bed with well-draining, fertile soil. Amend with organic matter such as compost to improve soil structure and fertility.
Transplanting Process
- Timing: Transplant seedlings in spring after the last frost date when the soil has warmed.
- Spacing and Depth: Space the seedlings 30-40 cm apart and plant them at the same depth they were growing in their pots.
Care for Mature Plants
Watering and Fertilization
- Watering: Keep the soil consistently moist, especially during dry periods. Avoid waterlogging, which can lead to root rot.
- Fertilization: Apply a balanced fertilizer once a month during the growing season to support healthy growth and flowering.
Pest and Disease Management
- Pests: Common pests include aphids, thrips, and spider mites. Regular inspection and the use of insecticidal soap can help control infestations.
- Diseases: Ensure good air circulation and avoid overhead watering to prevent fungal diseases such as powdery mildew and gray mold.
Hydroponic Cultivation
Managing EC and pH Levels
- EC Levels: Maintain an electrical conductivity (EC) of 2.0-3.0 mS/cm. This range ensures adequate nutrient supply without causing toxicity.
- pH Levels: Keep the pH between 5.5 and 6.5, with 5.8 being optimal. This ensures nutrients are available for uptake.
Daily Maintenance
- Solution Management: Monitor and adjust the nutrient solution daily. Replenish the solution volume and maintain consistent EC and pH levels.
- Growth Conditions: Grow the lilies in a controlled environment with temperatures ranging from 17.5°C to 30°C and appropriate shading. Recirculate the nutrient solutions frequently.
Conclusion
Growing Arum and Calla lilies from seeds is a fulfilling process that allows you to experience the entire life cycle of these beautiful plants. By following the detailed steps outlined in this guide, from seed collection and preparation to planting, germination, and mature plant care, you can successfully cultivate these stunning lilies in your garden or home. Regular monitoring, proper care, and attention to detail will ensure your Arum and Calla lilies thrive and produce breathtaking blooms for years to come.
Our Shop
-

Crowborough — Zantedeschia aethiopica ‘Crowborough’
-

Green Goddess — Zantedeschia ‘Green Goddess’
-

Hercules — Zantedeschia aethiopica ‘Hercules’
-

Highveld — Zantedeschia ‘Highveld’
-

Odorata — Zantedeschia odorata
-

Pink Flamingo — Zantedeschia ‘Pink Flamingo’
-

Pink Mist — Zantedeschia ‘Pink Mist’
-

White Giant — Zantedeschia aethiopica ‘White Giant’
Leave a Reply